How to draw on walls online (no paint, no trouble)
Every kid gets the same lecture: not on the walls. This guide is the loophole. Here's how to draw on walls online with Dumecia, a free browser app that gives you a small 3D room on a globe, from your first line to a finished wall that people from anywhere can walk in and see.
No paint, no ladder, nobody asking who did this.
Why a wall beats a blank page
Paper is private: you draw, you close the sketchbook, done. A wall is different in three ways.
Scale. A wall invites big gestures. You stop fiddling with tiny details and start drawing with your whole arm (or your whole thumb, on a phone).
Space. Drawings sit side by side, around corners and over your head, so the room becomes a place instead of a single picture.
An audience. Your room sits on a globe next to everyone else's. People wander in, look around, and sometimes leave something of their own. It's the virtual graffiti wall idea, minus the fine and the bucket of soapy water.
What you need to draw on walls online
A browser. That's the whole list. Dumecia works on a phone or a computer, and there's nothing to install.
No account either: no email, no password. On the same internet connection, all your devices open the same room automatically (one room per connection). Elsewhere, you open it with your private room link, so keep it safe.
Your first online drawing wall, step by step
-
Open the app. Go to Dumecia in your browser. Your room is created automatically on your first visit.
-
Allow your location (roughly). The browser asks permission to use your location. Dumecia uses it to place your room about 10 km around you, never at your exact address. That rounding is the point: the globe can show that someone draws near Lyon or Lagos without pointing at anyone's front door. Once your room is placed, its place is fixed.
-
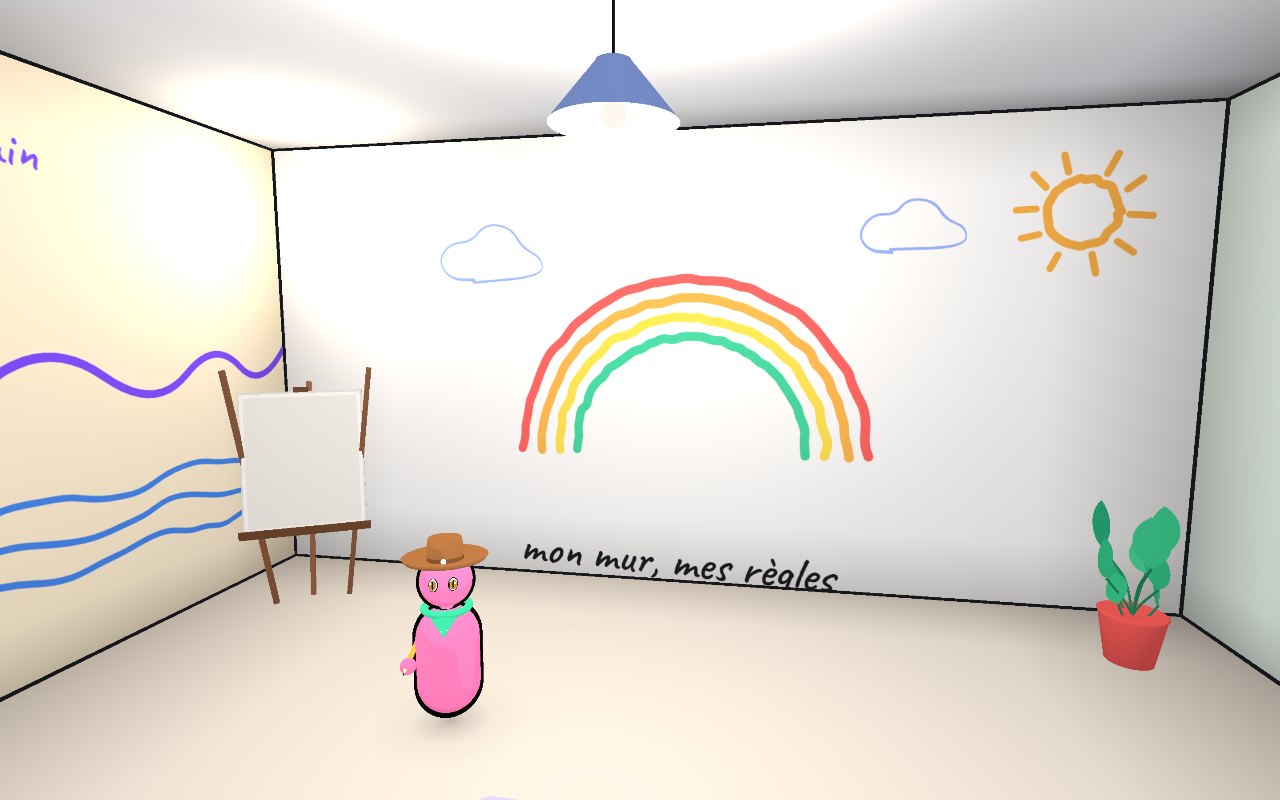
Step inside. Enter your room and you're in the Room view. Look around: four walls, a ceiling, a floor. Those six surfaces are your canvas.
-
Pick a brush. The Brush tool has seven: Ink (it follows pen pressure if you have a stylus), Marker, Pencil, Spray, Highlight, Chalk and Light. For a first wall, Marker or Chalk is a safe bet, since both read well from across the room. Choose a color, then push the size up more than feels natural.
-
Draw on a wall. Face a wall and draw straight onto it. The first line feels slightly illegal, which is half the fun.
-
Open the Studio for detail. The Room view is great for big strokes. For careful work, open the Studio: it shows one surface flat (Back, Left, Right, Entrance, Ceiling or Floor) with zoom, a grid, snap to grid and a mirror mode. Lettering, straight edges and symmetrical shapes get much easier here.
-
Undo without guilt. Made a mess? Undo. Changed your mind about the mess? Redo. The Eraser removes single strokes or whole objects if you'd rather clean up by hand.
-
Move things with Select. The Select tool lets you move, resize, rotate, duplicate or delete any drawing, and bring it to the front or send it to the back. If the sun you drew sits too low, grab it and lift it.
Tips for a good wall
Start big. Block in the largest shape first (a mountain, a face, one bold word) and add detail after. Small drawings on a big wall look a little lost.
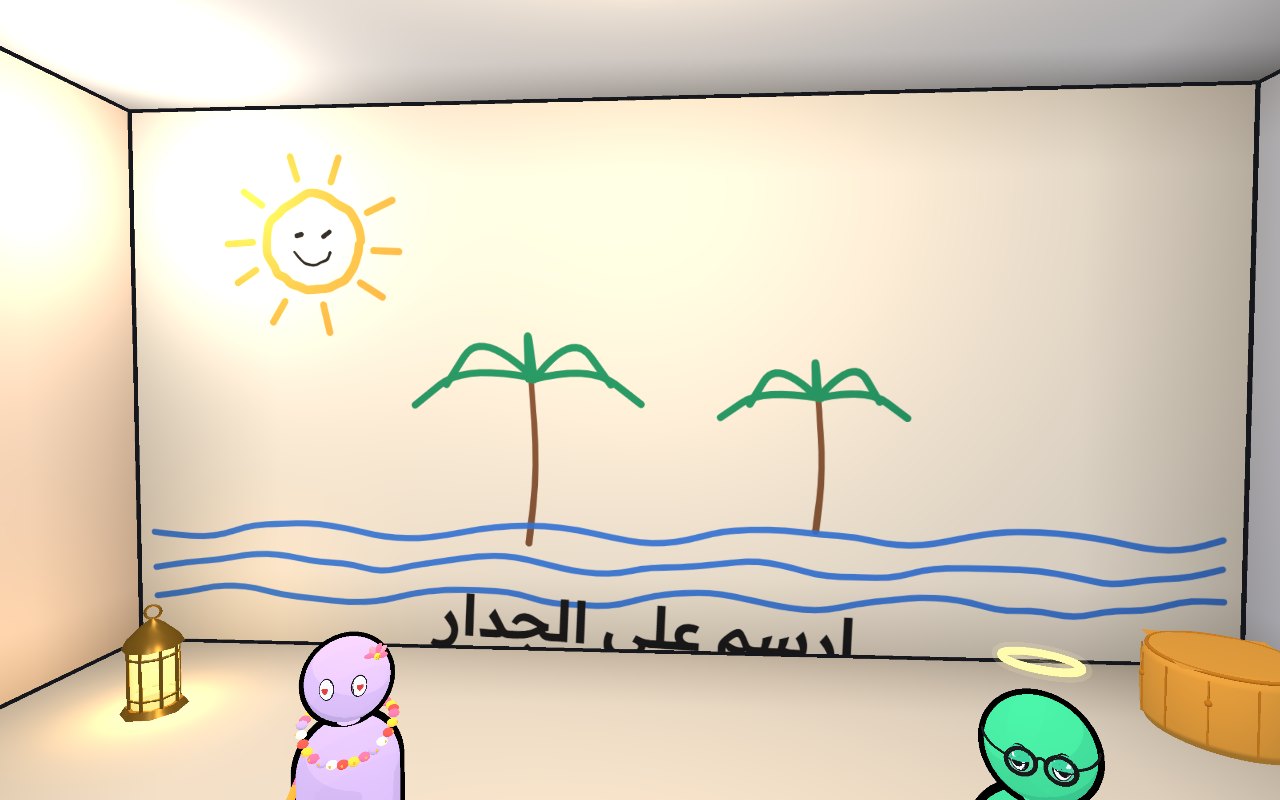
Use all six surfaces. The ceiling and the floor are the most forgotten spots in any room, so they surprise people most. Stars overhead, a rug underfoot, and the room feels finished.
One idea per wall. Give each wall its own theme: a window on one, a poster on another. Visitors read the room like a short comic as they turn around.
Leave room for visitors. If you plan to let people draw, keep a clear patch with an invitation written above it, something like "Sign here" or "Draw your pet".
Mix text and drawing. The Text tool has six fonts. A short caption next to a drawing gives it a voice: a title, a bad joke, the name of the dog.
Need more starting points? Try these room ideas. For anything that should shine in the dark, see the guide to drawing with light.
Let other people add to it
Visitors can always look around. To let them draw, you have three options.
- Invitation link. Send friends a private link that lets them draw. Good for a small group you trust.
- Everyone can draw. Set who can draw in your Room settings, and anyone who walks in can add to your walls. Good for a guestbook or a public mural.
- One visitor. You can also let a single visitor draw, handy when someone you know drops by.
You also choose how your room shows up on the globe: Open (anyone can step in), Showcase (visible, preview only) or Private (hidden, invitation link only).
People can move or delete only their own drawings, and as the owner you can delete anything, so a scribble in the wrong spot never has to stay.
Share what you made
When the wall is ready, use Share. You get a link to your room, so people can step inside and look around in 3D, plus a generated picture of your room made for social networks.
Curious what everyone else is making? Press Knock on a random door to land in a random open room. Somewhere on Earth, someone is drawing on a wall right now.
Your turn
You were told not to draw on the walls. These ones are yours, so go ahead. Open your room and make the first line count, or at least make it big.